
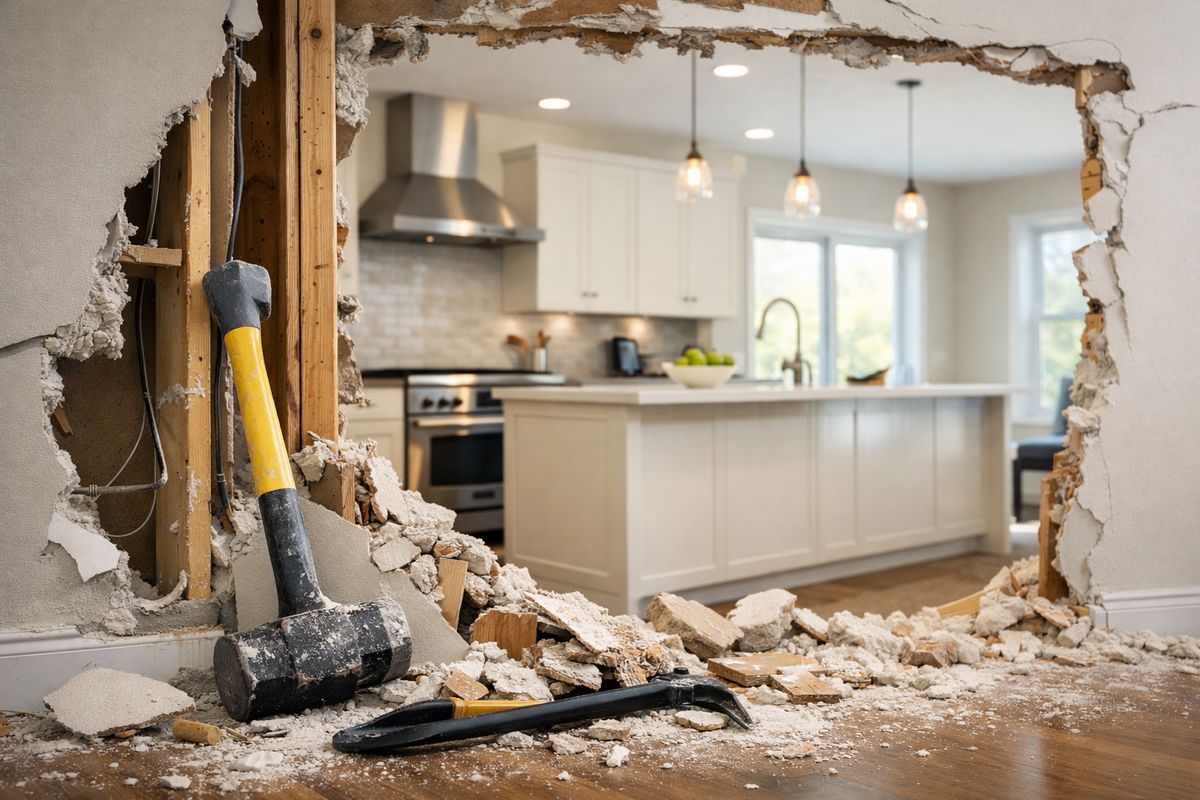
According to the 2026 Houzz U.S. Kitchen Trends Study, 52% of renovating homeowners changed the layout and 33% updated walls. If you want to knock down a kitchen wall, that statistic matters because this project is common, but it is not simple. Your safest path starts with structure, permits, and planning long before any demolition begins.
What to know before you knock down a kitchen wall
Knocking down a kitchen wall can improve flow, open sightlines, and make daily use easier. In many Virginia Beach and Norfolk homes, it can also help an older layout fit current needs without moving. What this means in practice is simple: wall removal is a structural project first and a design project second.
A kitchen wall may carry roof loads, second-floor loads, utilities, or all three. Once that wall is removed, another element has to do its job. That is why the first decision is not whether the wall can come down. The first decision is how the load will be carried safely after removal.
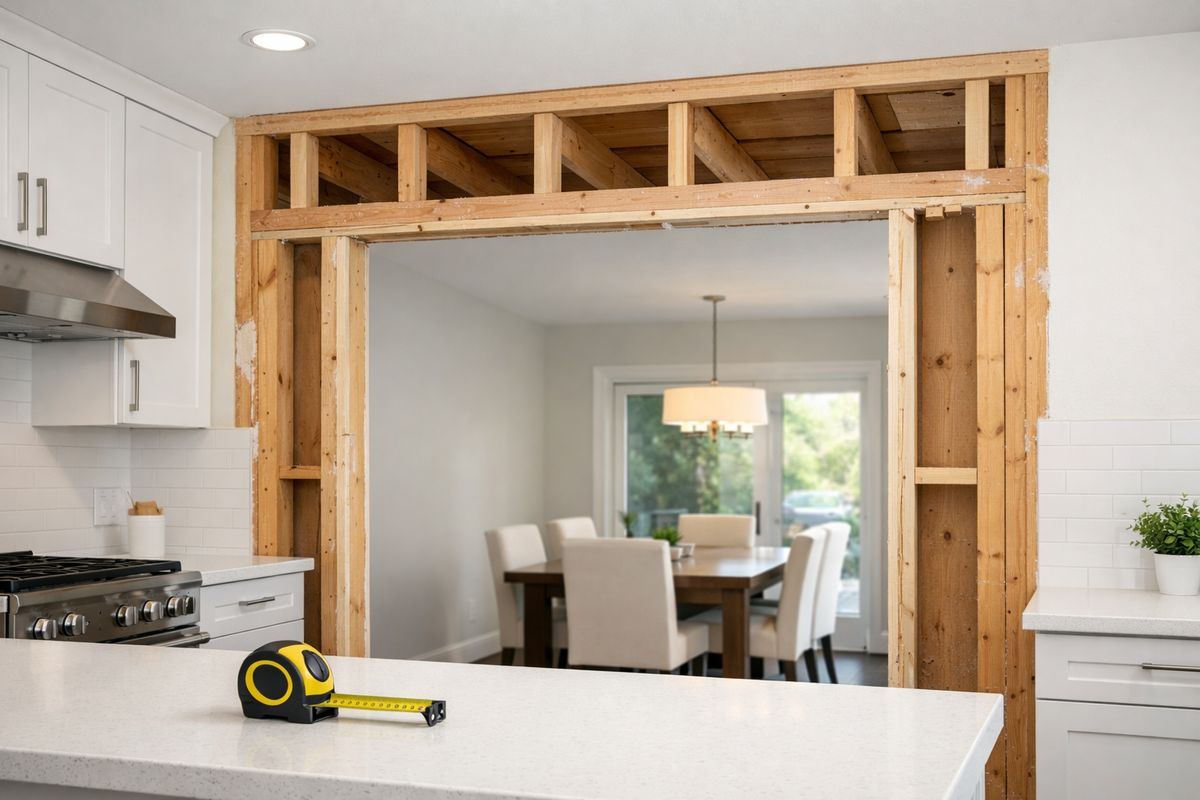
Prerequisites: what you need before you start
According to the 2026 Houzz U.S. Kitchen Trends Study, layout changes remain the most common major kitchen update. Here is how to use that: begin with documents, decisions, and the right project team, not demolition tools.
Gather your existing plans, measurements, and remodel goals
If you have original plans, past permit drawings, or a survey, pull those first. Then take basic measurements of the kitchen and the rooms on each side of the wall. Your goal is to define the problem the wall removal should solve, such as poor traffic flow, blocked views, weak storage planning, or resale concerns.
This matters because an open layout is not always the right answer in full. A partial opening may preserve cabinets, hide appliances from view, or reduce finish work. If you are still deciding between a larger opening and full removal, it helps to review the tradeoffs in opening the kitchen to nearby spaces.
Line up the right professionals early
Industry guidance repeatedly recommends a structural engineer and a licensed remodeler before demolition. In practice, that means you need professional review if the wall might be load-bearing, if utilities may run through it, or if permit drawings are required.
In Virginia Beach, Norfolk, Chesapeake, Portsmouth, Suffolk, Hampton, and Newport News, permit expectations can vary by locality and scope. Your simplest path is to start with a site visit and a defined scope so the project can be reviewed correctly before scheduling any tear-out.
Prepare for permits, inspections, and a realistic budget
Houzz-based renovation coverage has reported median major kitchen spending in the $55,000 to $60,000 range, which shows how quickly layout changes can affect overall remodel scope. What this means in practice is that wall removal cost is driven less by demolition itself and more by engineering, support design, utility changes, patching, and finish repairs.
Your first budget discussion should account for the full chain of work. If you are comparing project types, it also helps to understand how a remodel differs from a renovation in terms of scope planning and finish impact.
Step 1: define the opening you actually want
According to the 2024 Houzz study, more than 2 in 5 homeowners made the kitchen more open to interior spaces, and 64% of those chose a completely open layout. Here is the practical takeaway: full openness is popular, but popularity is not the same as fit.
- Stand in the kitchen during normal use and note where traffic jams happen.
- Mark the wall section you want removed with painter's tape.
- Decide whether your goal is full removal, a widened opening, or a partial wall with posts.
- Check whether nearby cabinetry, flooring, and lighting plans support that choice.
Compare full removal vs. a framed opening
A full removal creates the strongest visual connection. It also tends to increase structural, finish, and utility complexity. A framed opening, by contrast, can create openness while limiting ceiling repair, flooring patching, and changes across adjoining rooms.
- Choose full removal if you need direct circulation and clear sightlines.
- Choose a widened opening if you want openness with less disruption.
- Choose a partial wall if support, storage, or utility routing still serves the room.
Think beyond the wall to the whole room
A Southeast Michigan open-concept case study found that successful results depended on layout, lighting, flooring, plumbing, and appliance planning, not wall removal alone. What this means in practice is that the opening should support how you move through the room after construction.
- Draw your kitchen, dining, and adjacent living path on paper.
- Mark where people walk during cooking, seating, and cleanup.
- Adjust the opening size so circulation improves instead of shifting the bottleneck.
Step 2: confirm whether the wall is load-bearing
Contractor and engineering guidance consistently treat this as the main checkpoint. If the wall carries load, your budget, permit path, and timeline all change.
- Pause any demolition planning until structural review happens.
- Use visible clues only to inform questions.
- Get final confirmation before ordering materials or booking labor.
Review framing clues and original drawings
Joist direction matters. A wall that runs perpendicular to floor or ceiling joists may be load-bearing. A wall stacked above another wall or beam below can also suggest structural function. Original drawings may show bearing lines, beam locations, or framing notes.
These clues help, but they do not prove anything on their own. Your practical move is to use them to ask better questions during the site visit.
Bring in a structural engineer or qualified contractor for final confirmation
Expert guidance is clear on this point: structural review should happen before demolition plans are finalized. That review should produce a beam plan, support details, and permit-ready documentation if structural replacement is required.
- Request a site review before any tear-out date is set.
- Ask for a clear explanation of how the load will be transferred.
- Wait for structural details before finalizing the estimate.
If you want one accountable team and a clearer process, start with choosing a remodeling partner you can trust before design decisions harden into assumptions.
Step 3: check what is hidden inside the wall
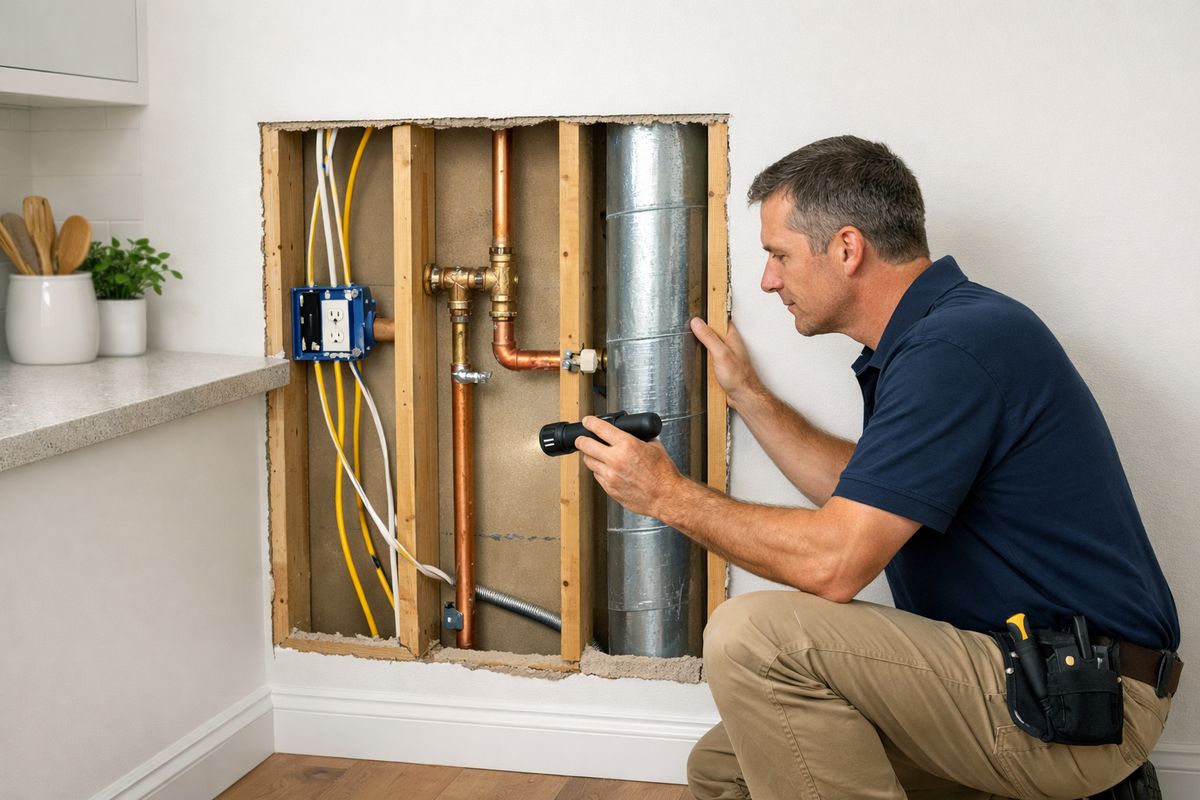
Industry guidance notes that hidden utilities often affect schedule more than demolition. That point is easy to overlook because drywall removal looks fast. Utility rerouting is usually the slower part.
- Assume the wall may contain something important.
- Plan inspections before final scope approval.
- Treat utility work as a design issue, not a surprise add-on.
Identify electrical, plumbing, HVAC, and venting lines
Kitchen walls often carry receptacle wiring, switch legs, supply lines, drain lines, ducts, or vent runs. If the wall sits near a sink, range, refrigerator, bathroom, or laundry area, the odds of utility conflicts rise.
A wall can be structurally removable and still be a poor candidate for full demolition if utility rerouting becomes too invasive. That is the practical translation homeowners need before approving full removal.
Decide what gets rerouted, relocated, or preserved
Once utilities are identified, you can make smarter tradeoffs. A post or short wing wall may allow a cleaner result than forcing major rerouting. Appliance placement, lighting layout, and nearby plumbing all affect that choice.
- Keep full removal only if utility changes remain reasonable.
- Use a partial wall if it preserves a simpler route for services.
- Confirm final utility locations before structural work begins.
Step 4: get engineering, permits, and a scope you can price
Safe remodels start with approved details. According to repeated contractor and engineering guidance, permits are commonly required for structural wall removal, and inspections often occur before the wall is closed back up.
- Finalize structural drawings.
- Submit permit documents.
- Build your estimate from approved plans, not assumptions.
Finalize beam sizing and support details
Beam size depends on span, load, story height, and existing conditions. Posts and bearing points matter just as much because the load has to travel down to a place that can carry it.
Your estimate should reflect actual structural design. If it does not, the number is incomplete.
Submit permits and inspection requirements
In Hampton Roads cities such as Virginia Beach and Norfolk, permit review helps confirm that structural work meets code. Inspections also create checkpoints before finishes hide the work.
For homeowners who want dependable scheduling, this stage reduces rework later. It also gives you one approved path forward instead of a field fix under pressure.
Build a complete estimate and timeline
Houzz trend reporting shows continued spending on complex kitchen updates, which fits what happens when structure and utilities change together. The practical action here is direct: ask for a line-item scope that covers demolition, temporary support, structural installation, utility changes, patching, and finish repairs.
Step 5: prepare the home and support the structure
Best-practice guidance for wall removal always starts with protection and temporary support. Demolition is not the first physical step. Setup is.
- Protect adjacent rooms and pathways.
- Shut off affected utilities.
- Install temporary support before opening the wall.
Set up dust containment and protect adjacent rooms
Plastic barriers, floor protection, controlled access routes, and air management matter even more in occupied homes. If your household includes children, pets, remote work, or military scheduling demands, controlled site management protects both the home and your routine.
A respectful setup also protects nearby finishes that are not part of the remodel. That lowers the chance of avoidable repairs.
Install temporary supports before demolition begins
Temporary support walls or shoring carry upper loads while the existing wall is removed and the new support is installed. This is not optional when a wall has structural function.
Your checkpoint is simple: no drywall comes off until support is in place and verified.
Step 6: demolish the wall safely and methodically
Once utilities are addressed and support is installed, demolition can begin. Speed is not the goal here. Control is.
- Remove surface materials first.
- Confirm field conditions inside the wall.
- Remove framing in the planned sequence.
Remove finishes first
Drywall, trim, and finishes come off before studs and plates. That exposes wiring, pipes, ducts, and framing conditions that may differ from assumptions on paper.
This is also the moment when hidden issues appear. If conditions change, the project should pause and adjust rather than continue on an outdated plan.
Take out studs and plates in the planned order
Studs and plates should be removed methodically to preserve stability, access, and clean work for follow-on trades. Careful demolition also reduces damage to nearby ceilings, flooring, and wall finishes.
That is the move that works. Controlled removal now usually means less repair later.
Step 7: install the new structural support
Structural engineers consistently emphasize one point: the wall is not simply disappearing. Its job is being reassigned.
- Place the engineered beam.
- Install any posts and bearing elements.
- Secure connections above and below.
- Keep temporary support until approval is complete.
Set the beam and any posts or bearing points
The beam must be positioned and connected according to approved details. Posts must land on support that can carry the load, not just on convenient floor framing.
In plain terms, the new support system has to complete the load path from above to below. If that path is incomplete, the wall removal is incomplete.
Complete structural inspection before removing temporary support
Expert guidance recommends inspection and sign-off before temporary supports come out. Rushing this step can create risk that is much harder to correct after finishes begin.
Your safest move is to wait for approval, then proceed.
Step 8: reroute utilities and rebuild the surfaces
Case studies on open-concept remodels show that the final result depends on coordinated mechanical and finish work. Once the structure passes inspection, the opening still has to function and look intentional.
- Complete planned utility changes.
- Patch surrounding surfaces.
- Restore finishes beyond the former wall line where needed.
Update electrical, plumbing, and HVAC connections
Trades should complete rerouting based on the approved plan, not on a quick field guess. In an open kitchen, lighting balance, outlet placement, airflow, and appliance support become more visible because the surrounding spaces are now visually connected.
That means utility work affects both function and appearance.
Patch ceilings, walls, and floors so the opening looks intentional
The former wall line often leaves ceiling seams, flooring gaps, texture differences, or paint transitions. Clean finish work usually extends beyond the exact wall footprint so the opening looks planned rather than patched.
This is where quality becomes obvious. A good structural project still feels unfinished if the surfaces around it do not match.
Step 9: evaluate the finished layout and plan the next improvement
Whole-space planning matters even after the wall is gone. A new opening changes how light moves, how furniture sits, and where storage pressure lands.
- Live with the space during normal routines.
- Test cooking, seating, and circulation patterns.
- Note any finish corrections or adjacent upgrades that now make sense.
Check flow, sightlines, and function
During everyday use, pay attention to whether the kitchen feels easier to use. Watch the route between appliances, seating, and nearby rooms. The question is not whether the wall is gone. The question is whether your home works better now.
Identify the next upgrade worth tackling
A removed wall often reveals the next logical improvement, such as island lighting, flooring continuity, cabinetry changes, or a nearby bathroom update. This week, schedule a walkthrough and make one written list of finish corrections and future upgrades so nothing is missed before the project feels complete.
Troubleshooting common issues during kitchen wall removal
Unexpected conditions are common in older homes and even in newer homes with undocumented changes. The goal is not to avoid every issue. The goal is to respond in a way that protects safety, schedule, and scope.
The wall is load-bearing after all
If demolition starts under a wrong assumption, stop immediately. The plan now needs engineering review, support details, and permit confirmation before work continues.
That pause protects the house and protects your budget from avoidable rework.
The wall contains unexpected plumbing, wiring, or ductwork
Hidden utilities are one of the most common reasons a project changes midstream. If that happens, revise the scope based on rerouting needs instead of forcing a rushed workaround.
A changed plan is better than a bad fix hidden behind drywall.
Floors and ceilings do not align after the wall is removed
Uneven floor heights, missing flooring under the old wall, and ceiling seams are common. These are finish restoration items, not minor touch-ups.
If they are priced and planned correctly, the final result looks intentional instead of improvised.
Full removal is not practical
Sometimes the smartest answer is not full demolition. A wider cased opening, retained post, or partial wall can still improve openness while respecting structure, utilities, and budget.
That is the simplest version of this decision: choose the opening that improves the home without forcing unnecessary complexity.
What outcome you should expect and what to do next
A well-planned wall-removal project should give you better flow, stronger visual connection between rooms, and a layout that fits how you live now. If you are planning a kitchen update in Virginia Beach, Norfolk, or nearby Hampton Roads cities, the right next move is a site assessment that confirms structure, utilities, scope, and permit needs before demolition starts.
FAQ
If the wall is structural, a permit is commonly required. Even when a wall is not load-bearing, local rules may still apply if electrical, plumbing, or HVAC work is involved. Permit review should happen before demolition.
Joist direction, stacked walls, and original drawings can provide clues. Those clues are not enough for final confirmation. A structural engineer or qualified remodel professional should verify the wall before removal plans are finalized.
The main cost drivers are structural support requirements, beam design, utility rerouting, permit needs, finish restoration, and how far repairs extend into adjacent rooms. The demolition itself is only one part of the project.
No. A partial opening can improve flow and visibility while reducing structural complexity, utility changes, and finish disruption. The right choice depends on how you use the space and what the wall is doing now.
The timing depends on engineering review, permit approval, inspections, utility complexity, and finish work. A dependable schedule comes from a defined scope and approved structural plan, not from demolition speed alone.
Gather any existing plans, note your layout goals, and identify whether you want full removal or a larger opening. Then request a site visit so your estimate reflects actual structure, utilities, and finish conditions.

Knocking Down a Kitchen Wall: What Homeowners Need to Know
Open Kitchen Layouts: Benefits, Costs, and Tradeoffs